VMware vSphere ESXi
Important -> (February 2024) End Of General Availability of the Free vSphere Hypervisor (ESXi 7.x and 8.x) KB 2107518
Note: AstLinux 1.3.0 or later is recommended as documented below.
Note: AstLinux 1.4.0 or later requires ESXi 6.7 or later
VM Host Specifications: VMware vSphere Hypervisor
AstLinux Board Type:
- “genx86_64-vm” (VGA video console)
VM Guest Recommended Options:
- Memory: 512 to 1024 MB
- CPU: 2 Processor Cores
- Virtual Storage: 4 to 8 GB, SCSI Controller
- Network: Bridged Interface
Configuration:
Note: These screenshots are from VMware ESXi 6.5.0
After VMware ESXi is installed, the dashboard looks like this:
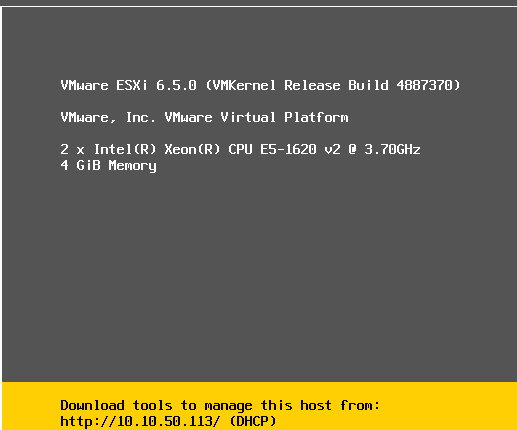
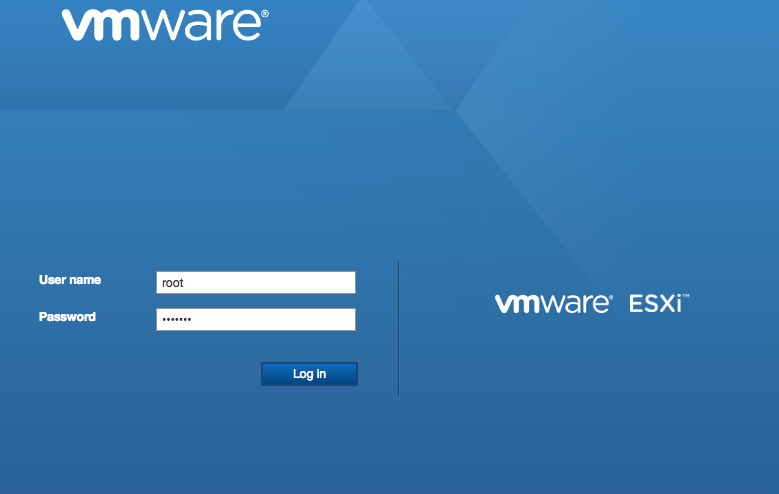
For this example we are going to use a web browser (Chrome) to manage the ESXi host.
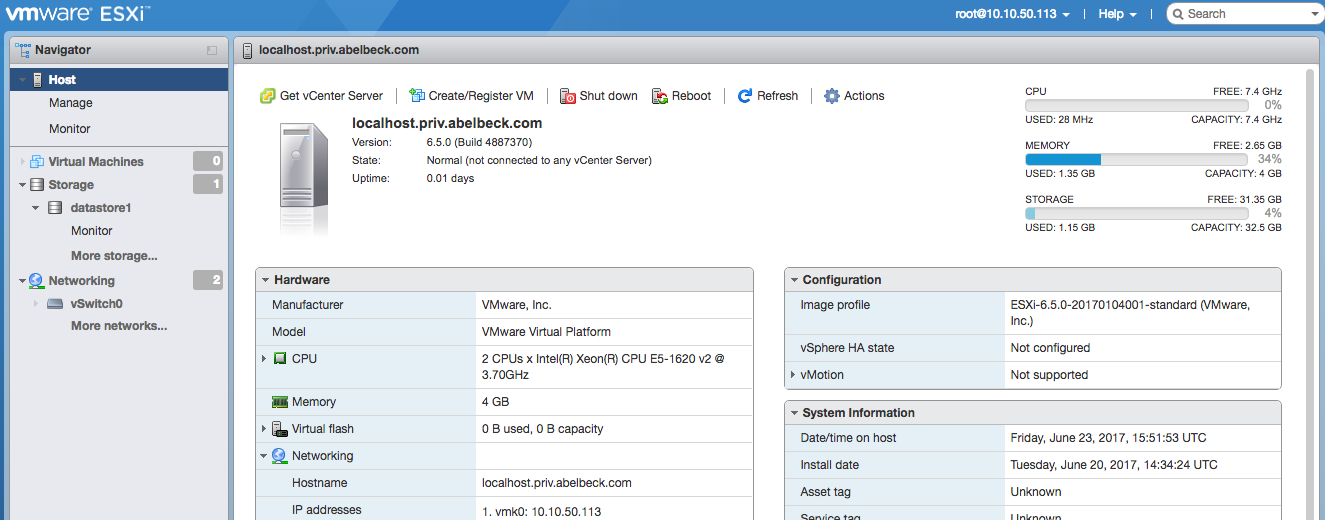
The default host settings are shown below.
Tip -> If you know what you are doing, this is a good time to create an additional “Virtual Switch” or two via the Networking tab on the left, but not needed for this example.
Click on “Create/Register VM” to begin …
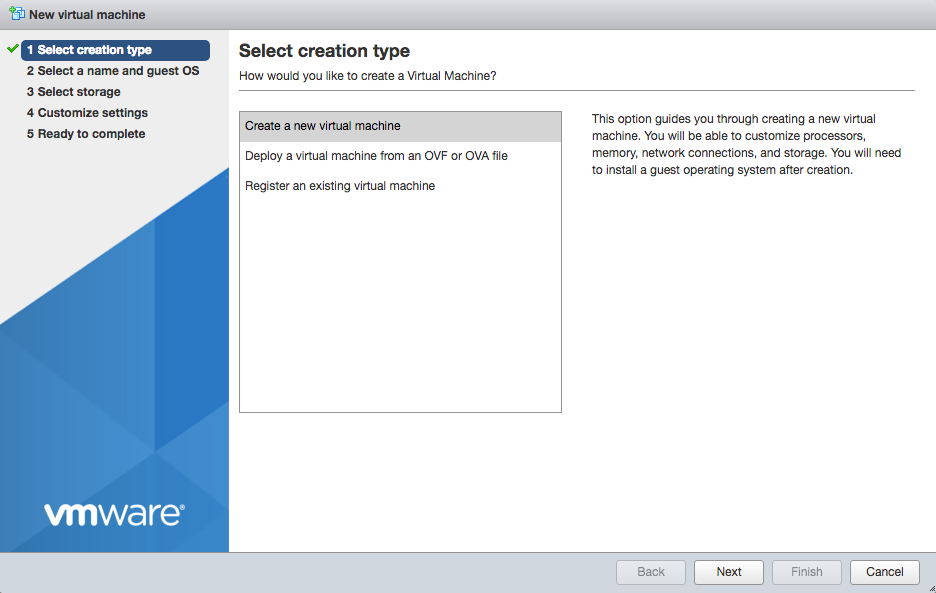
Create a new virtual machine …
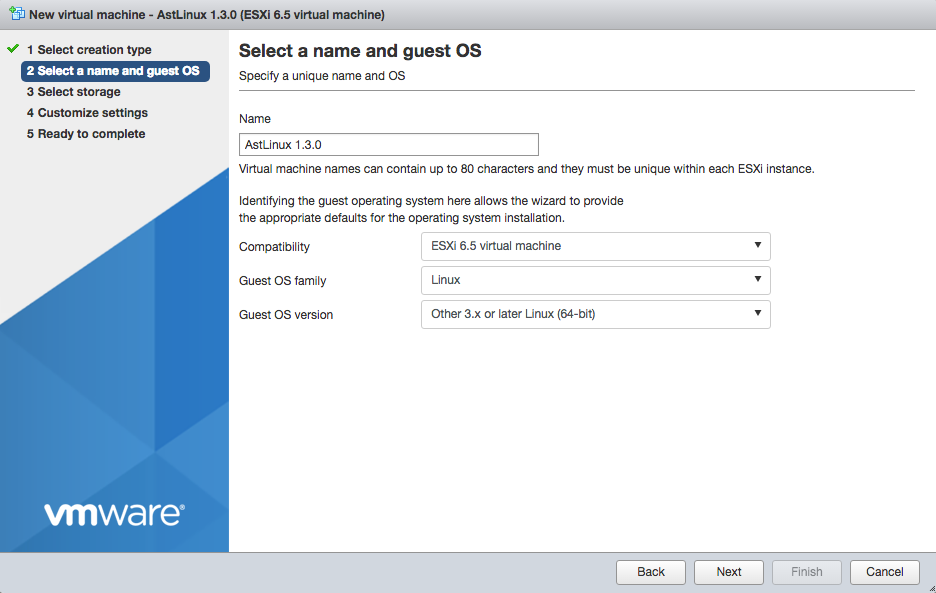
“Next” define a name and select “Linux” and “Other 3.x or later Linux 64-bit”
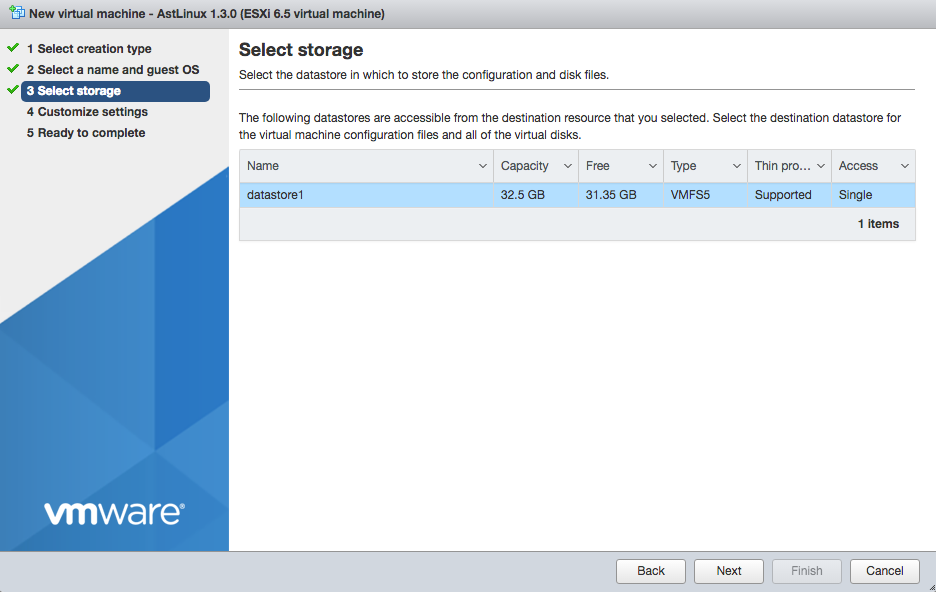
“Next” shows the datastore storage available, nothing to do if there is only one.
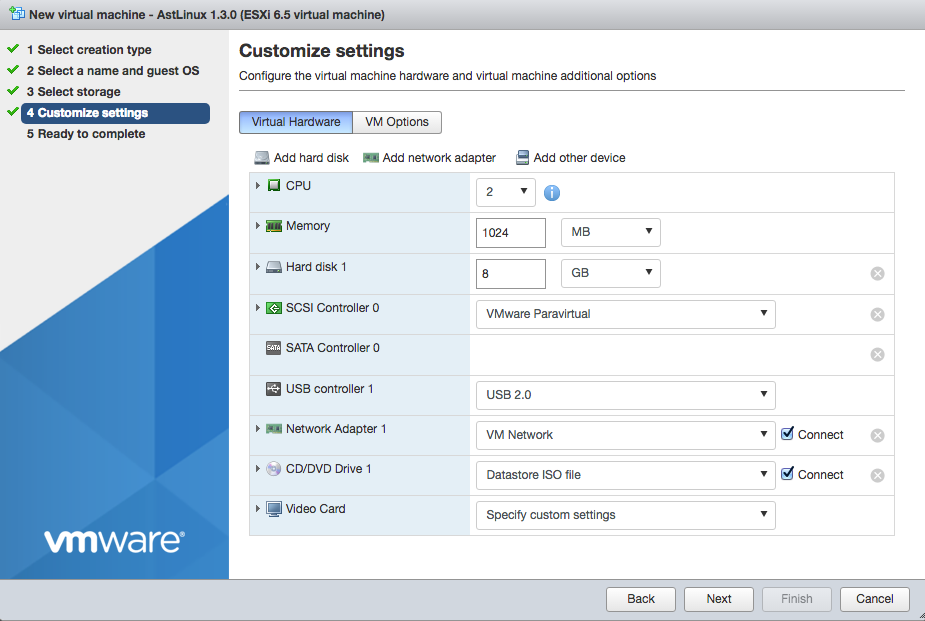
“Next” select CPU [ 2 ], Memory [ 1024 MB ] and Hard disk [ 8 GB ]
Then for the CD/DVD Drive select “Datastore ISO file” which you will be prompted to select the ISO image:
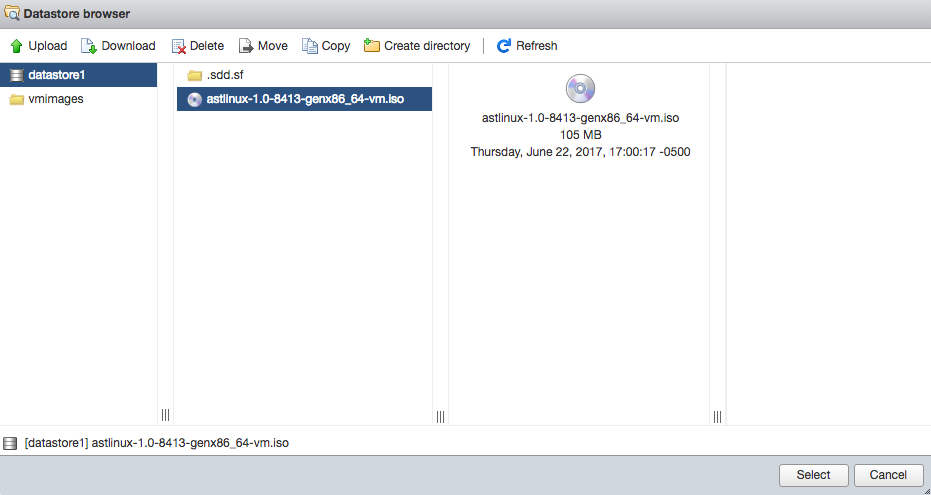
If you have not already done so, click on “Upload” the AstLinux Installer ISO to the datastore, then “Select” it.
You should then see the final settings:
“Next” gives you another, more detailed look at the settings:
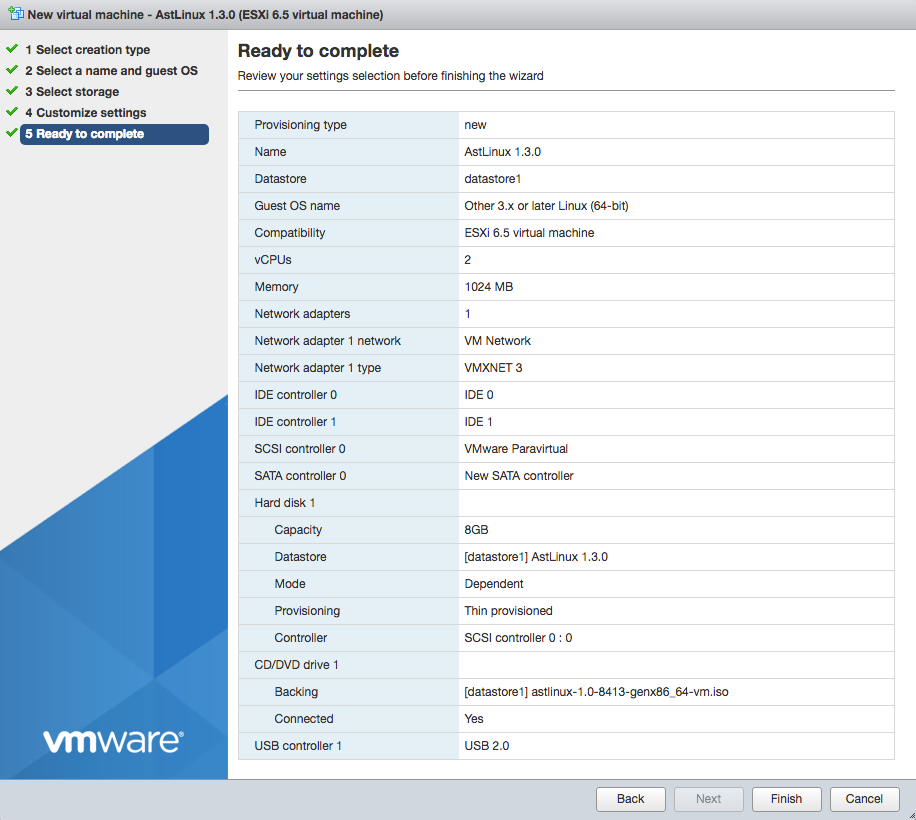
Click “Finish” to confirm the settings above.
Next, click on the “Play” icon below “Console” to power on the VM …
Tip -> If you instead clicked on “Power on” you will have to then click on “Console” to display the console.

After a few seconds you should see the AstLinux Installer:
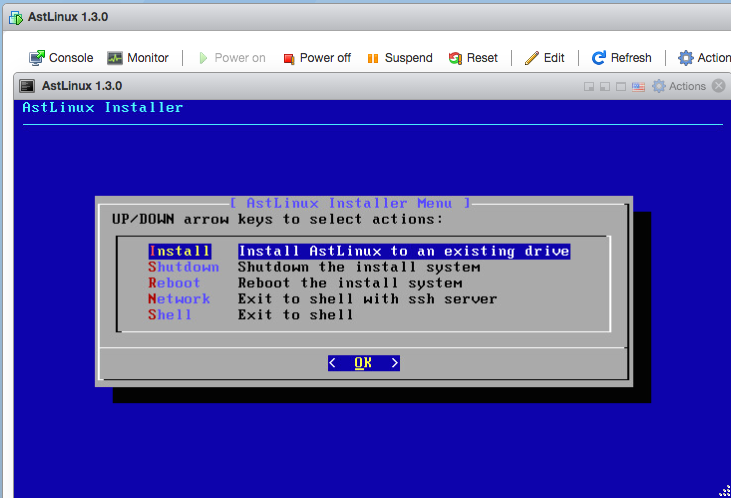
Select the “Install” installer menu, follow the dialogs to install an AstLinux image to your virtual disk.
When finished select the “Shutdown” installer menu.
After shutdown, click “Edit”, and remove the CD/DVD Drive, by clicking on the (x) on the right …
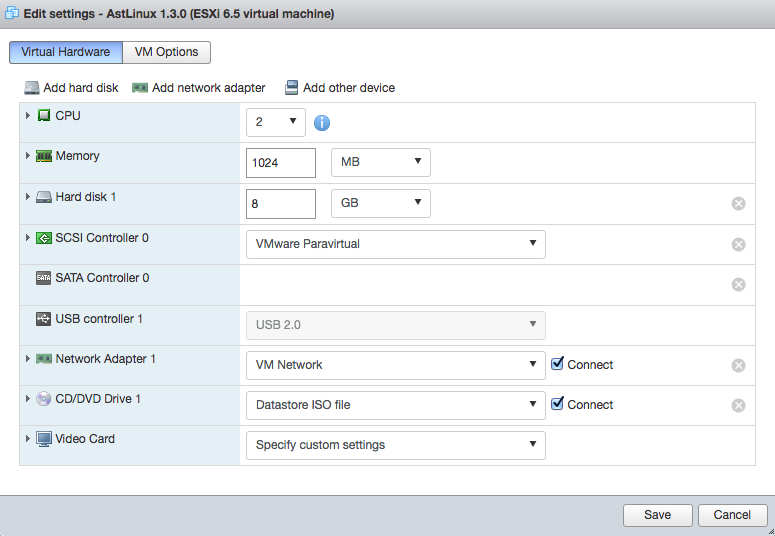
The settings without a CD/DVD Drive should look like this:
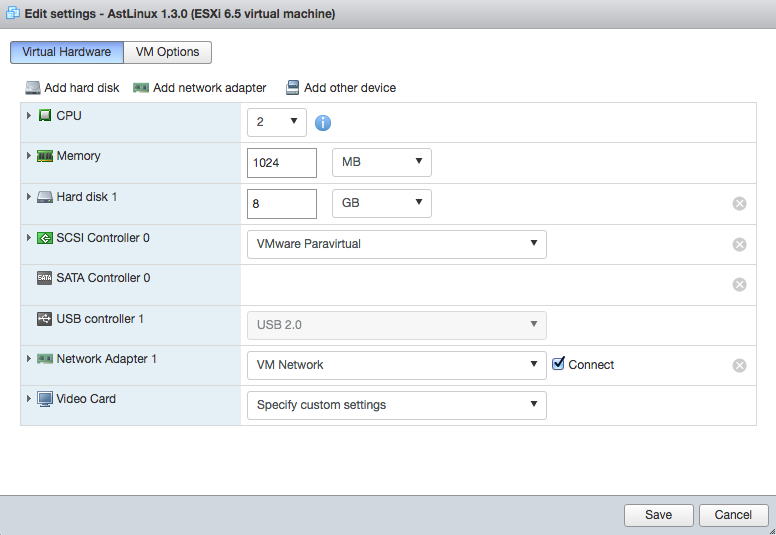
Click “Save”…
Then click on the “Play” icon below “Console” to power on the VM again:
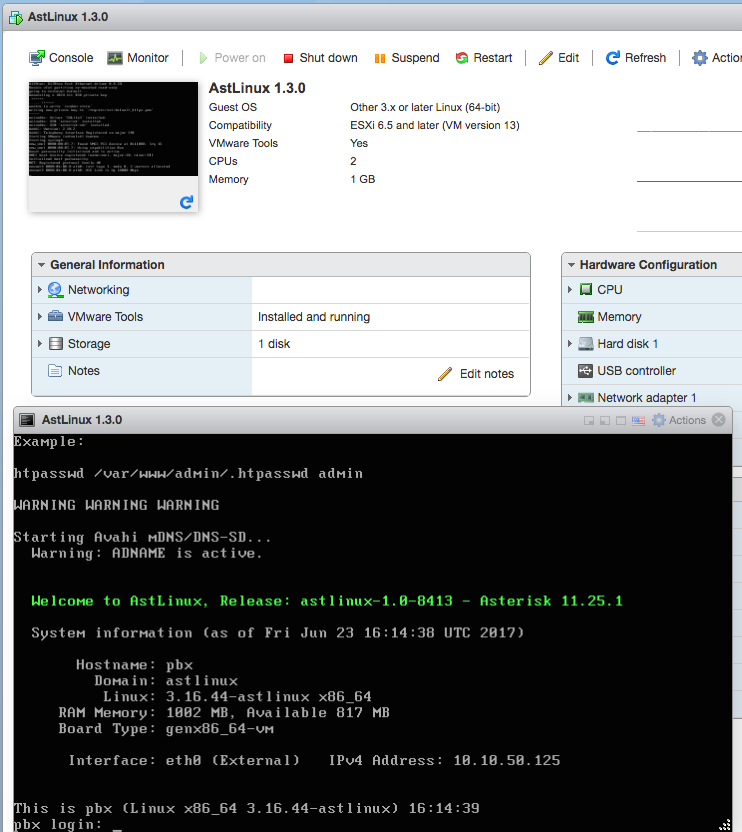
Finally, configure AstLinux using the normal setup.
Tip -> Note the “IPv4 Address:” on the screen and access the VM with SSH or an HTTPS browser on the same network.