Proxmox VE
Note: AstLinux 1.2.7 or later is required (1.3.0 or later for 'VirtIO-SCSI')
VM Host Specifications: Proxmox VE
AstLinux Board Type:
- “genx86_64-vm” (VGA video console)
VM Guest Recommended Options:
- Memory: 512 to 1024 MB
- CPU: 2 Processor Cores
- Virtual Storage: 4 to 8 GB
- Network: Bridged Interface
Configuration:
Note: These screenshots are from Proxmox version 4.1 (the WebGUI on newer versions looks slightly different!)
Using an HTTPS web browser login into the Proxmox WebGUI, typically using port 8006, then upload the AstLinux Install ISO to your local storage…
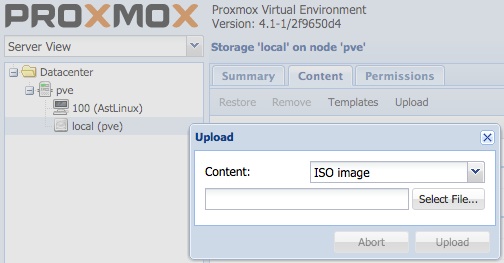
On the left select your local storage, in the right section select “Content” then “Upload”, select “ISO image” then select the AstLinux Install ISO and upload it to your Proxmox server. It should then appear in the “Content” section under “ISO image”.
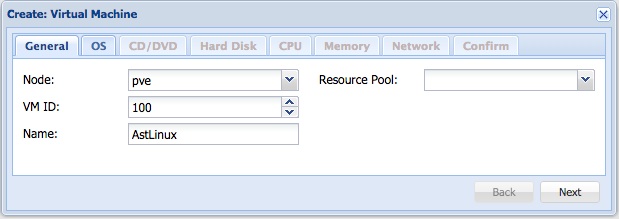
Now select your Proxmox node on the left, then “Create VM” on the upper right…
Enter a Name: (DNS style name, no spaces):
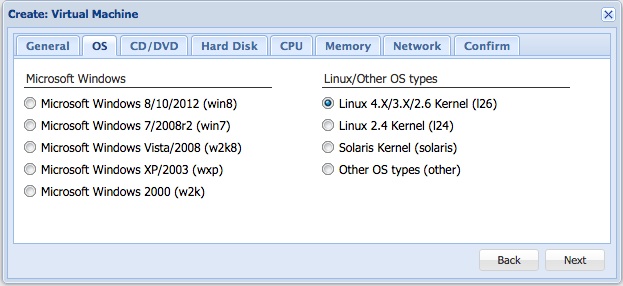
“Next” select “Linux 4.X/3.X/2.6 Kernel”:
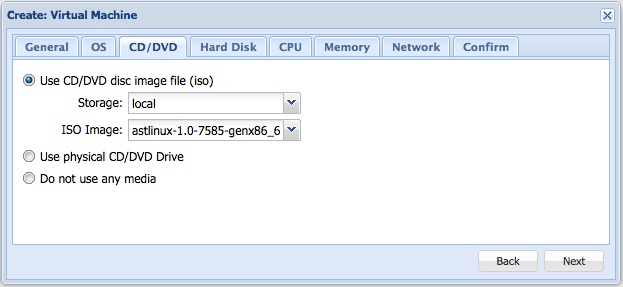
“Next” select your uploaded ISO image from local storage:
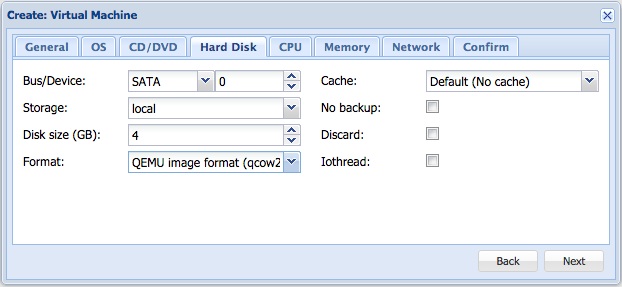
“Next” change the Bus/Device: to SATA and set the Disk size to 4 or 8 GB:
Tip -> Since AstLinux 1.3.0 'SCSI' should be used as Bus and 'VirtIO SCSI' as SCSI Controller (Proxmox default!)
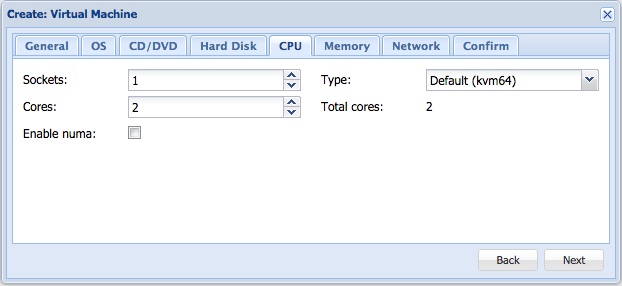
“Next” change the CPU Cores: to 2:
Tip -> To pass AES-NI support to the guest VM, select Type: [ host ] instead of the default. Though you may see kvm “unhandled rdmsr” messages on your Proxmox VE host's console, which can be safely ignored.
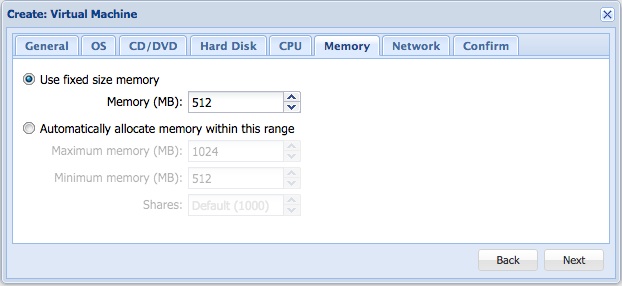
“Next” set fixed size memory at 512 MB or increase to 1024 MB:
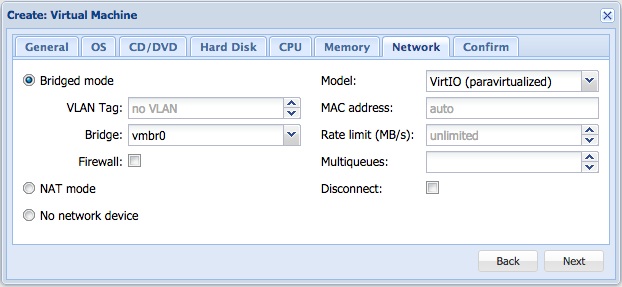
“Next” using Bridged mode network, select Model: VirtIO (paravirtualized)
Tip -> The default “Intel E1000” will also work well, but somewhat slower and less efficient.
“Next” shows the selections you made, give them a second look:
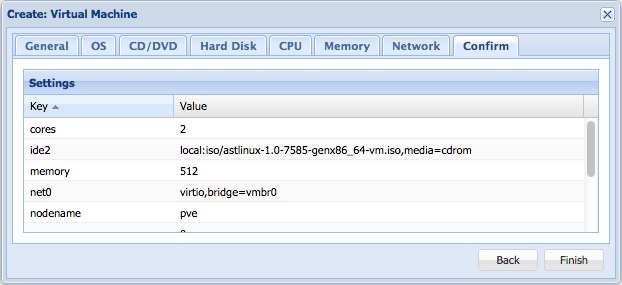
Click “Finish”, then the result should look like this:
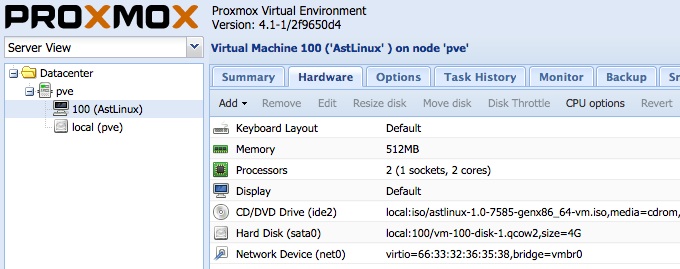
Now select your new VM on the left side, and click “Console” on the very right side…
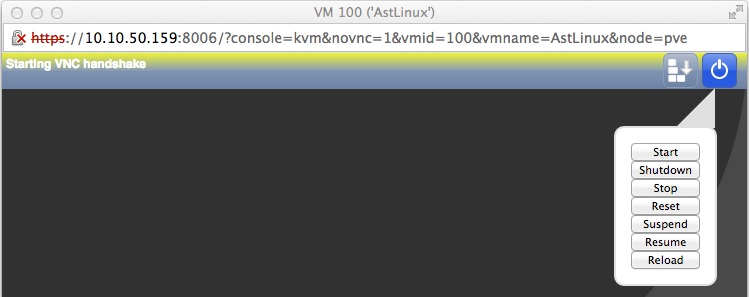
A browser window should appear as above, click on the right-most icon and select “Start”. After a few seconds you should see the AstLinux Installer:
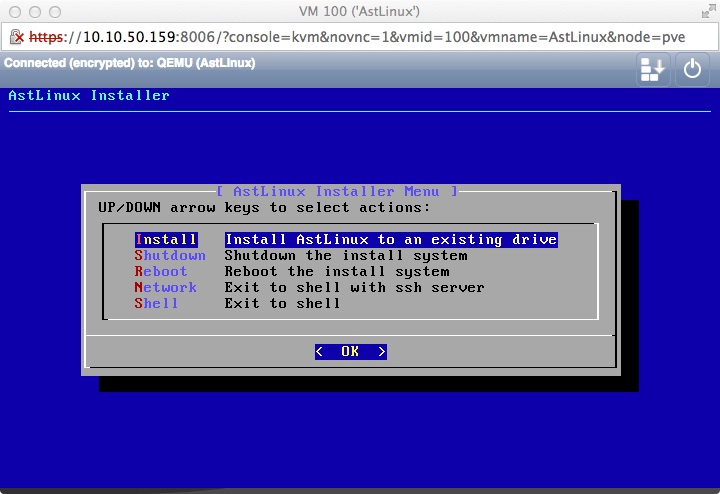
Select the “Install” installer menu, follow the dialogs to install an AstLinux image to your virtual disk.
When finished select the “Shutdown” installer menu.
After shutdown, Select “Hardware”, select the CD/DVD Drive, click “Edit” and remove the AstLinux ISO by clicking “Do not use any media”.
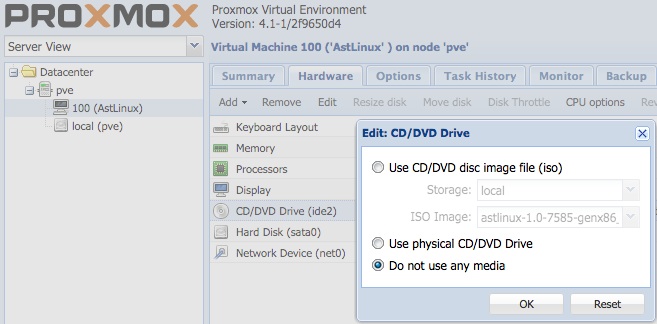
Click “OK”…
Then “Start” the VM again:
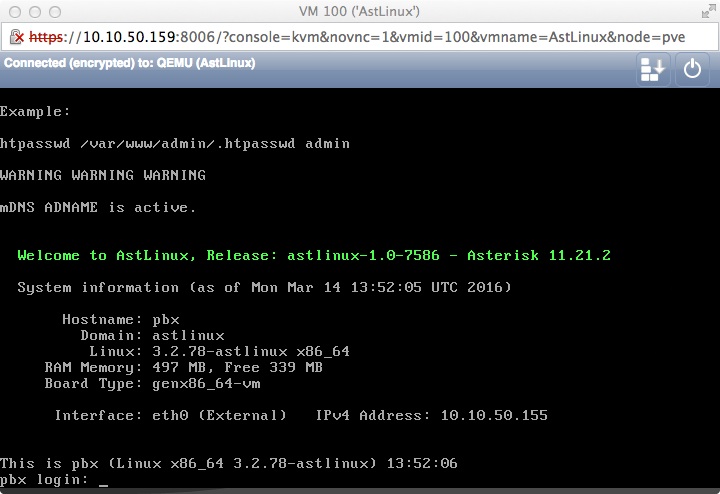
Finally, configure AstLinux using the normal setup.
Tip -> Note the “IPv4 Address:” on the screen and access the VM with SSH or an HTTPS browser on the same network.