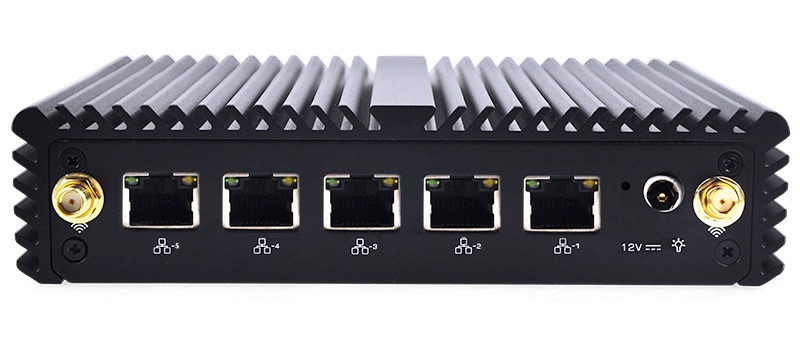
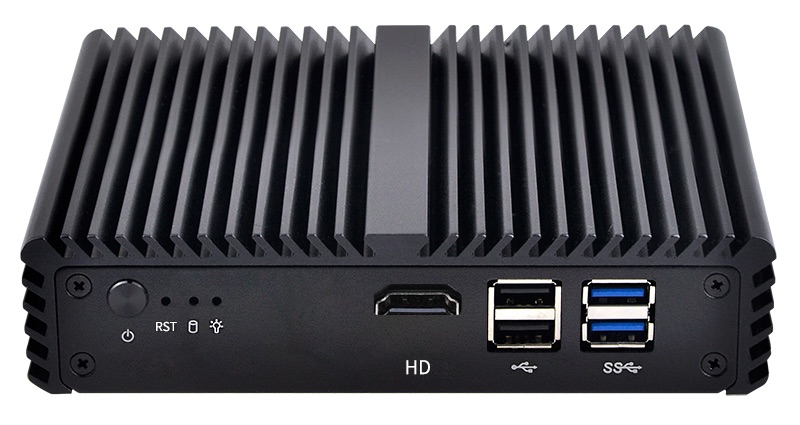
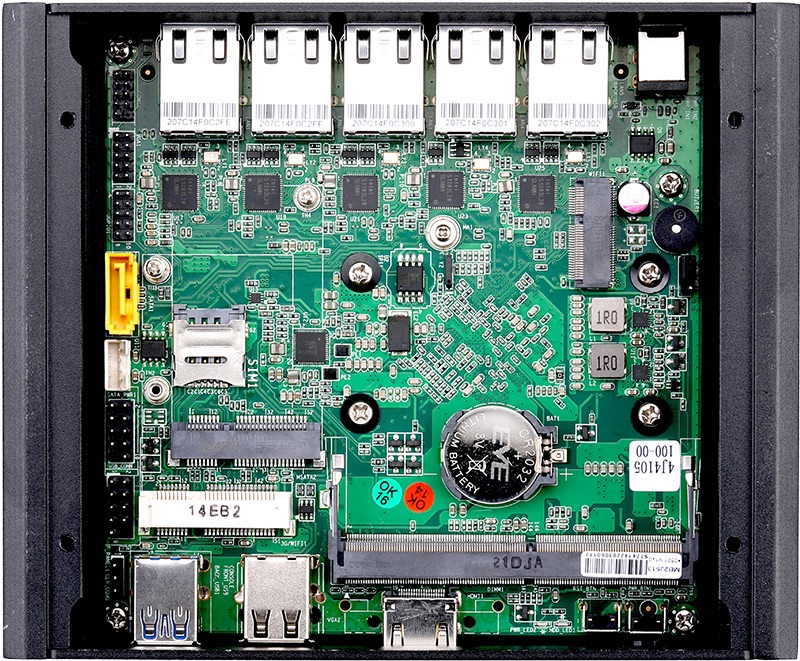
Qotom Q750G5 Celeron J4125 Fanless Appliance
Note: AstLinux 1.4.6 or later is required
AstLinux Board Type:
- “genx86_64” (Video Console: VGA)
Complete System Recommended Options:
- Memory: 260-pin DDR4 SO-DIMM 4GB
- Storage: mSATA SSD (PC Engines msata16 “Phison” or similar)
Total System Power (no HDMI connection): 7 Watts when idle.
Performance: 13.2 secs. (Single-core test, lower is better)
time ( echo "scale=3456; 4*a(1)" | bc -l )
Configuration:
/mnt/kd/rc.conf.d/user.conf
SENSEMODS="coretemp"

ALERT_SOUNDS="startup shutdown"  # Optional Sounds
#ALERT_SOUNDS_OCTAVE="1"

## Optional USB TTY serial login
USBTTY="yes"
USBTTY_BAUD_RATE="115200"
BTW: there is an internal serial header.
More Info -> USB TTY Serial Login
/mnt/kd/sensors.conf
# libsensors configuration file
# -----------------------------
# Qotom Q750G5

# coretemp CPU sensor
BIOS Setup for Restore AC Power Loss:
The Energy-Related Products Directive (ERP) is the European Commission Directive required for products sold and exported to the EU. As such the Qotom Q750G5 does not automatically power on after a power failure. Obviously this feature needs to be disabled.
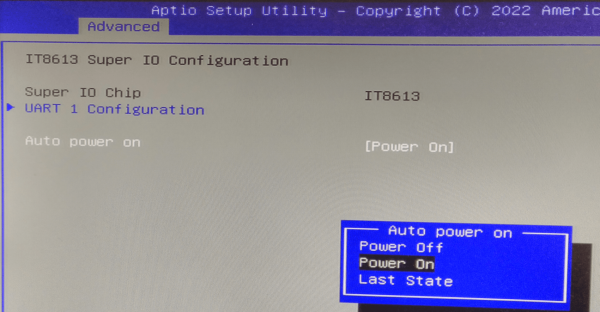
On startup (quickly) press the <DEL> key to enter the BIOS Setup, go to the “Advanced” → “IT8631 Super IO Configuration” . Make the following changes…
Auto power on → [Power On]
The results should like the following screen…
BIOS Setup for Boot OS Selection (non-UEFI):
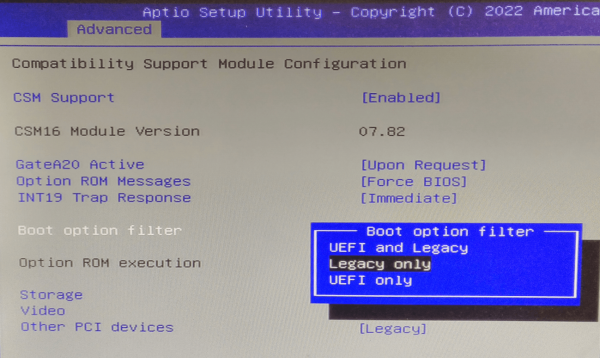
While in the BIOS Setup as above, to enable Legacy boot, go to the “Advanced” → “CSM configuration” menu…
Boot option filter → Legacy only
The results should like the following screen…
BIOS Setup for Boot OS Selection (UEFI):
UEFI Boot requires AstLinux 1.4.6 or later - additionally RUNNIX 0.6.10 or later is needed.
While in the BIOS Setup as above, to enable UEFI boot, go to the “Advanced” → “CSM configuration” menu…
Boot option filter → UEFI only
Other BIOS Settings
“Advanced” → “Trusted Computing” → “Security Device Support” ⇒ “[Disable]”
Save the above BIOS changes, reboot.
If the mSATA was pre-installed (with e.g. PFSense) you also need to setup the Boot Priorities for the USB stick correctly on the “Boot” page.
Or you can choose a temporary Boot-Device at the “Save & Exit” tab under “Boot Override” at the bottom (instead of a Boot-Menu).
Photos:
