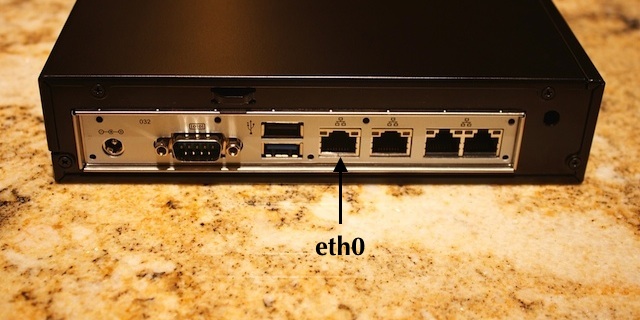
Jetway NF9HG-2930 Quad Core Fanless Celeron N2930
Note: AstLinux 1.2.0 or later is required
Board Specifications: NF9HG-2930
AstLinux Board Type:
- “genx86_64” (Video Console: VGA)
- “genx86_64-serial” (Serial Console:
19200baud for AstLinux 1.2.10 and earlier,115200baud for AstLinux 1.3.0 and later)
Complete System Recommended Options:
- Memory: 204-pin DDR3L (1.35V) 1333 SO-DIMM 2GB (slot closest to board)
- mSATA/SATA Storage: SanDisk SSD U110 32GB
- Case:
- No PCIe Expansion Card Support
- M350 Universal Mini-ITX Case or Akasa Cypher “Thin” Case
- AC Adapter (brick): AC Power Adapter 36W, 12V, 3A or 60W, 12V, 5A (5,5*2,5mm)
- With PCIe Expansion Card Support
- Jetway Case JC-11x/12x-B Series1) (or similar)
- AC Adapter (brick) is included, Internal ATX Power Supply not used
- 1U 19“ Rack-mounted chassis
- Jetway JC-150 Series (JC-150-B is case only, without PSU!)
Total System Power (no PCIe Expansion Card): 11 Watts when idle.
Performance: 30.8 secs. (Single-core test, lower is better)
time ( echo "scale=3456; 4*a(1)" | bc -l )
Configuration:
/mnt/kd/rc.conf.d/user.conf
SENSEMODS="coretemp"

ALERT_SOUNDS="startup shutdown"  # Optional Sounds
ALERT_SOUNDS_OCTAVE="1"
/mnt/kd/sensors.conf
# libsensors configuration file
# -----------------------------
# Jetway NF9HG-2930

# coretemp CPU sensor
BIOS Setup via Serial Port:
Initially you must use the included VGA cable2) to connect to the board's internal VGA header to view the BIOS3), an alternate solution is to use “Console Redirection” to the BIOS via the serial port.
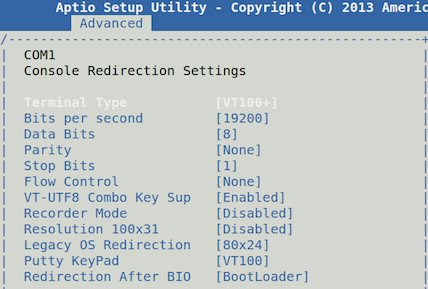
Note -> Leave Bits per second → 115200 for AstLinux 1.3.0 and later.
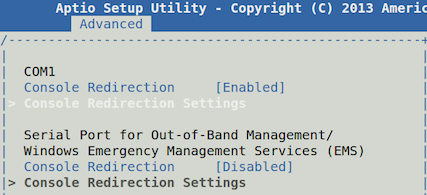
Using the VGA connection, enter the BIOS Setup, go to the “Advanced” → “Serial Port Console Redirection” . Make the following changes…
Console Redirection COM1 → EnabledTerminal Type → VT100+Bits per second → 19200Redirection After BIOS POST → BootLoader
The results should like the following screens…
Save the above BIOS changes, reboot.
Later to access the BIOS, configure your serial terminal program to support ANSI color and the matching baud-rate. If you are using minicom be sure to add the ' -c on ' option to the minicom command line, otherwise the ANSI colors will not be distinguishable in the BIOS Setup screen. On startup hit the <F7> key (or quickly type <ESC>[18 ) to enter the BIOS Setup.
BIOS Setup for Auto-Power-On after Power Failure:
The Energy-Related Products Directive (ERP) is the European Commission Directive required for products sold and exported to the EU. As such the Jetway NF9HG-2930 does not automatically power back on after a power failure. Obviously this feature needs to be disabled.
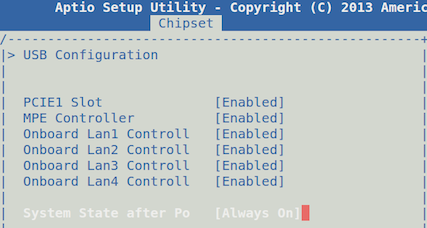
On startup press the <DEL> or <F7> key to enter the BIOS Setup, go to the “Chipset” → “South Bridge” . Make the following changes…
System State after Power Failure → Always On
The results should like the following screen…
Save the above BIOS changes, reboot.
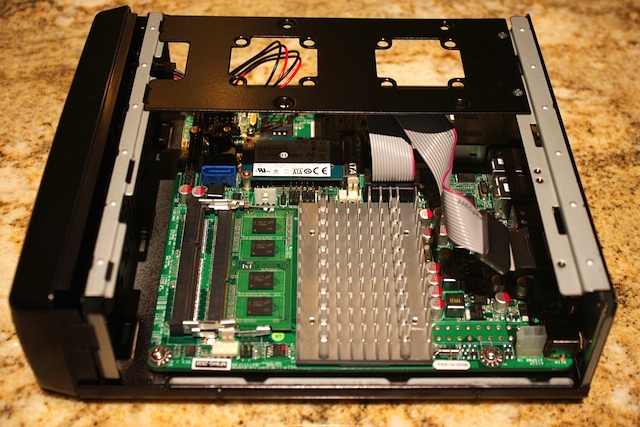
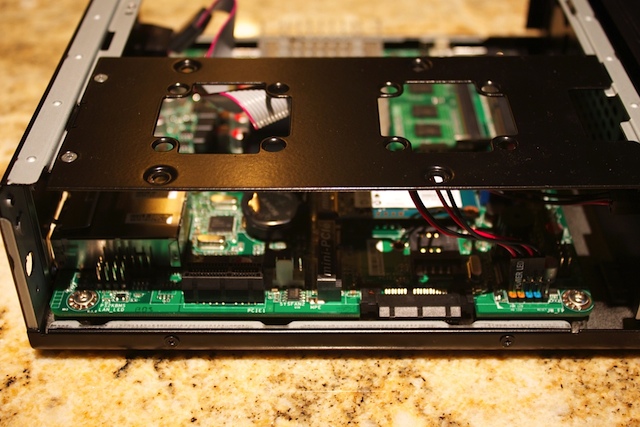
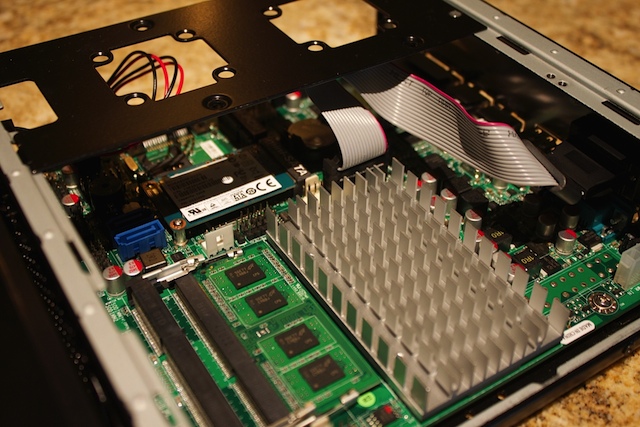
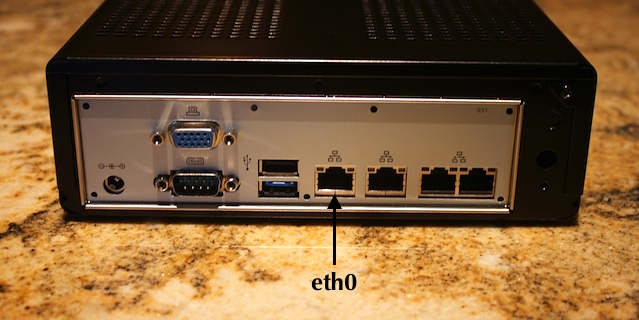
Photos:
M350 Universal Mini-ITX Case:
Akasa Cypher (AK-ITX04-BK) “Thin” Case:
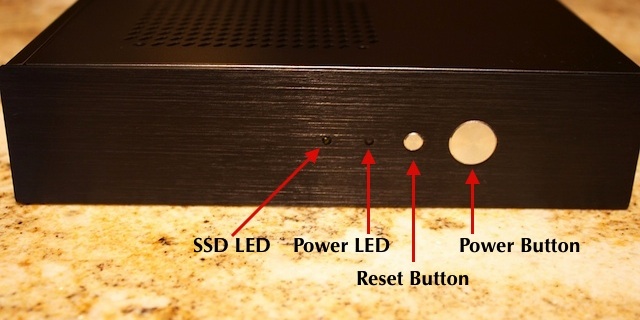
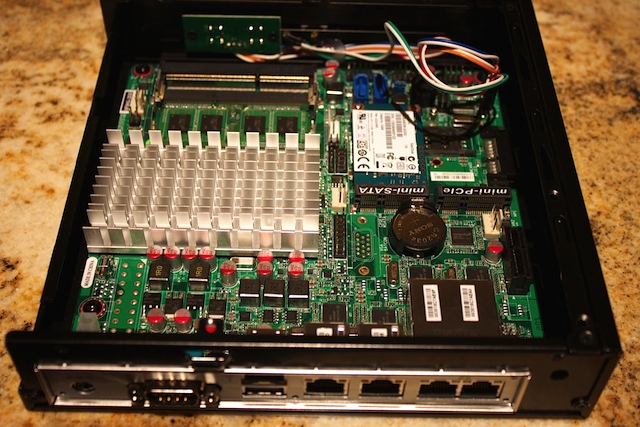
Akasa Cypher 2.5” SSD mount and fan are included, but removed here.
