Vultr KVM
Note: AstLinux 1.3.4 or later is required
Note: AstLinux 1.4.0 or later is required for new instances with Vultr. Linux 3.16.x kernel is no longer compatible for new Vultr instances
VM Host Specifications: Vultr
AstLinux Board Type:
- “genx86_64-vm” (VGA video console)
VM Guest Recommended Options:
- Plan: Cloud Compute
- Memory: 1 GB
- CPU: 1 Processor Core
- Virtual Storage: 25 GB
Configuration:
The configuration process could not be simplier, follow a few easy steps:
- Add ISO… upload AstLinux Installer ISO image to Vultr
- Add Firewall Group… inbound IPv4 Rules to secure during VM Setup
- Deploy New Server… using Vultr Cloud Compute
- Server Location: Select one from many across the world
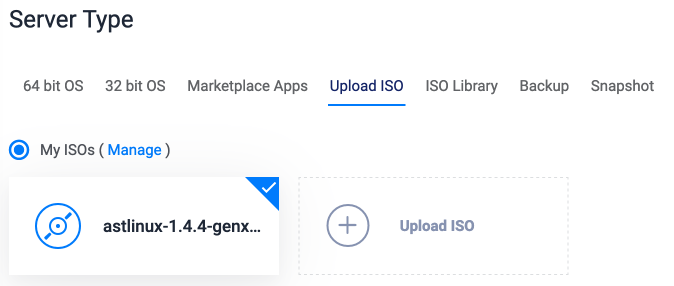
- Server Type: Select “Upload ISO” → “My ISO's”, click on the AstLinux Installer ISO
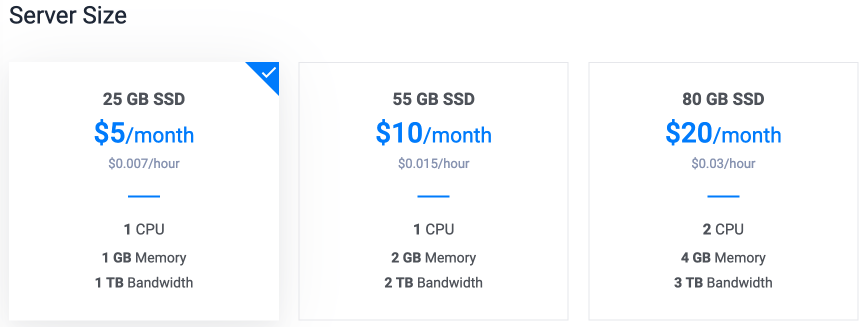
- Server Size: Select the 1 CPU, 1024MB Memory for this example
- Additional Features: None checked is fine, check “Enable IPv6” if desired
- Firewall Group: Select the “Setup” firewall group
- Server Hostname & Label: Define useful names for this instance
OK, let's begin …
Create a Vultr account and provide your billing information.

Add ISO… upload AstLinux Installer ISO image to Vultr.


You can transfer the ISO directly from the AstLinux Project page, use the latest Guest VM x86-64bit (Video Console) version, for example the URL for version 1.4.4 is:
https://astlinux-project.org/mirror/downloads/iso/astlinux-1.4.4-genx86_64-vm.iso
It will take a minute or more to finish transferring.

Add Firewall Group… inbound IPv4 Rules to secure during VM Setup

Use the name “Setup” and click “Add Firewall Group”.
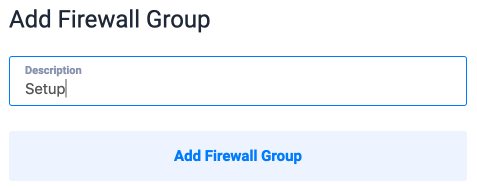
Specify a trusted HTTPS IP address that will be used to setup the AstLinux VM, using “My IP” may be a good choice. Add the rule by clicking on the Action +.

The resulting set of “Inbound IPv4 Rules” for the “Setup” firewall group:

Deploy New Server (Instance)… using Vultr Cloud Compute

Server Location: Select one from many across the world…
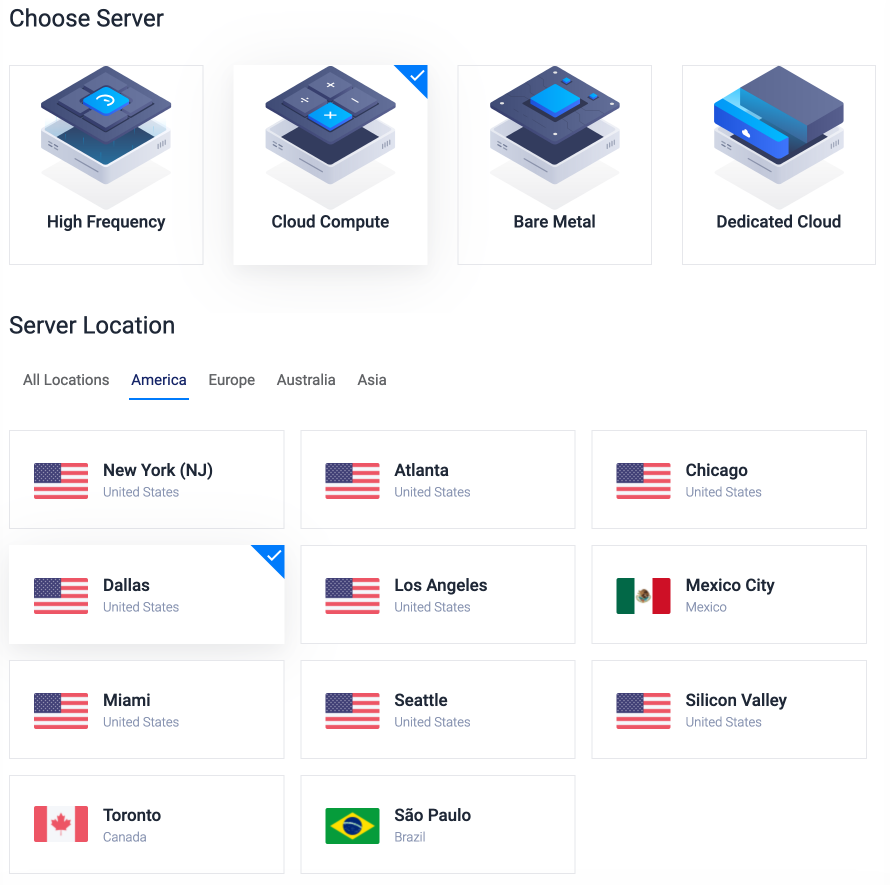
Server Type: Select “Upload ISO” → “My ISO's”, click (so the check-mark appears) on the AstLinux Installer ISO…
Server Size: Select the 1 CPU, 1 GB Memory for this example…
Additional Features: None checked is fine, check “Enable IPv6” if desired…
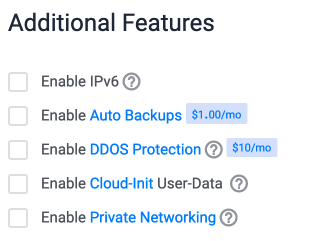
Firewall Group: Select the “Setup” firewall group defined earlier…

Server Hostname & Label: Define useful names for this instance…

Click “Deploy Now”

In less than a minute you will see the new instance “running”.

Note -> The IPv4 address is dynamically assigned from a pool and remains static for the duration of a deployed instance, this example instance has since been destroyed so treat the IPv4 address shown and mentioned below only as an example.
By clicking on the instance information you will get a larger overview…
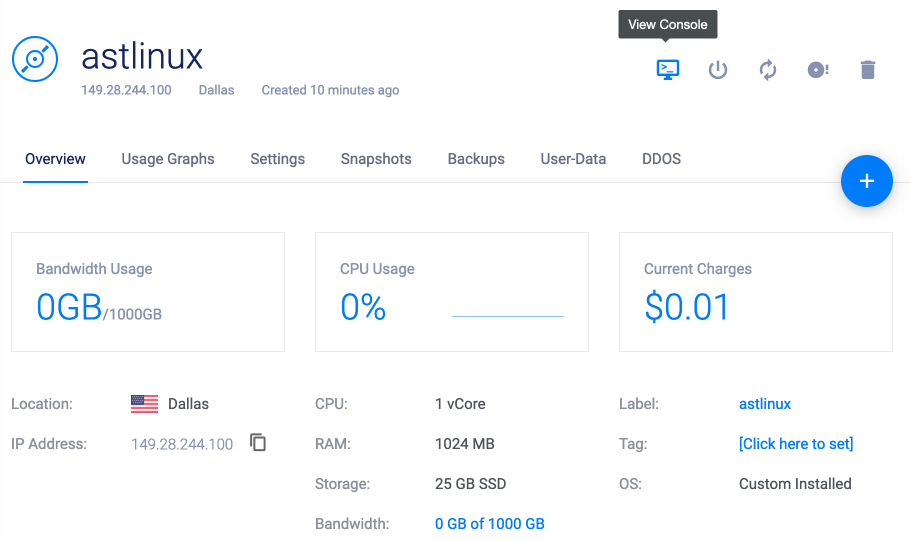
Click on the “View Console” icon it will open a console to the VM instance.
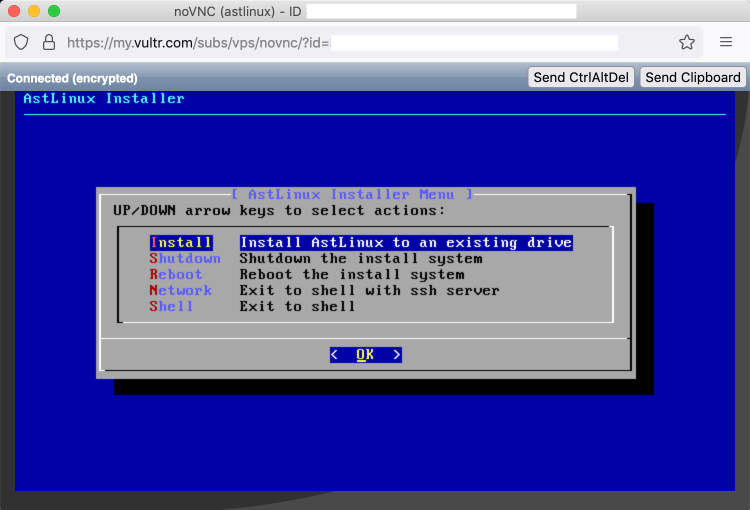
Select the “Install” installer menu, follow the dialogs to install an AstLinux image to your virtual disk.
When finished you can select the “Shutdown” installer menu, (or don't as it will automatically reboot in the next step).
From the Vultr dashboard click “Settings” and “Custom ISO”, you will see how to “Remove ISO”.
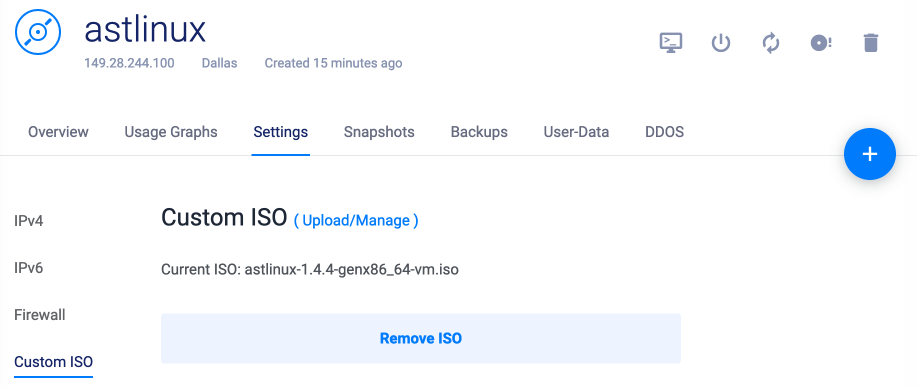
Click on “Remove ISO”, following you will be prompted if you are sure. The ISO will be removed and the VM instance will be restarted.
Again, using the “View Console” icon you will see AstLinux booting.
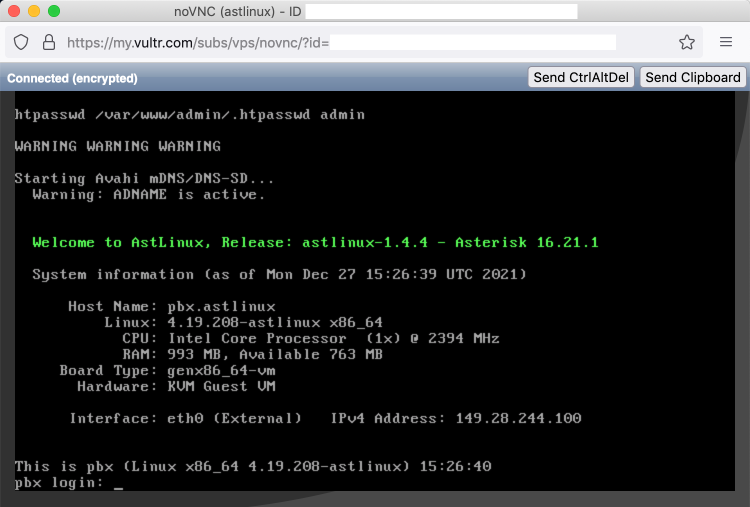
Finally, configure AstLinux using the normal setup.
Tip -> Note the “IPv4 Address:” on the screen and access the VM with an HTTPS browser from an allowed IP in the Vultr “Setup” firewall group.
It is important to enable the AstLinux Firewall and create rules with limited access for TCP ports 22,80,443 (SSH/HTTP/HTTPS) from trusted public addresses. After the AstLinux Firewall is enabled, you may disable the Vultr “Setup” firewall group by selecting “No Firewall” and click “Update Firewall Group” for the instance, as follows:
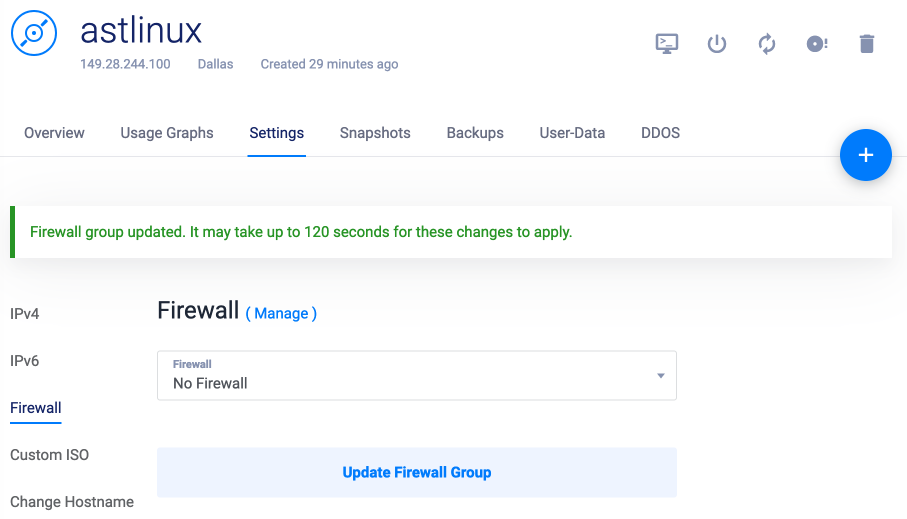
Note that the Vultr Firewall and AstLinux Firewall are back-to-back, in series.