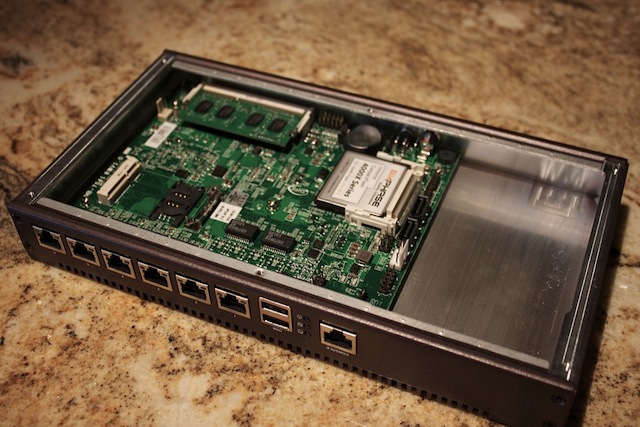
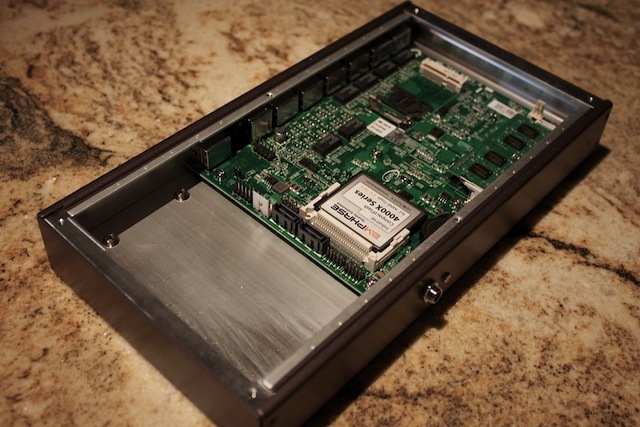
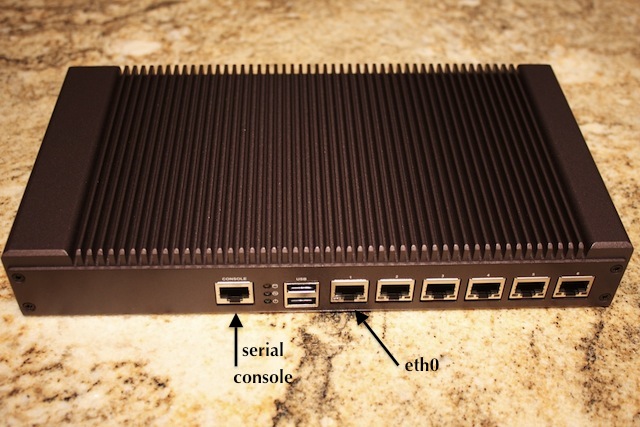
Lanner FW-7541D Atom D525 Fanless Appliance
Note: Requires AstLinux 1.x
Board Specifications: FW-7541D
AstLinux Board Type:
- “genx86_64-serial” (Serial Console:
19200baud for AstLinux 1.2.10 and earlier,115200baud for AstLinux 1.3.0 and later)
Complete System Recommended Options:
- Memory: 204-pin DDR3 1333 SO-DIMM 2GB
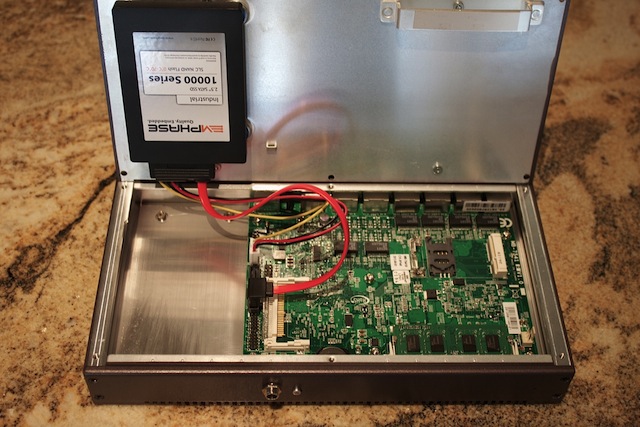
- Flash Storage: Industrial Compact Flash Card 2 GB or 2.5“ SATA SSD
- Included:
- Fanless Case
- AC Power Adapter (brick)
- Serial Console cable, RJ-45 → DB-9
- SATA data/power cable for 2.5” SSD
Total System Power: 15 Watts when idle.
Performance: 43 secs. (Single-core test, lower is better)
time ( echo "scale=3456; 4*a(1)" | bc -l )
Configuration:
/mnt/kd/rc.conf.d/user.conf
SENSEMODS="w83627ehf"

WDMODULE="iTCO_wdt"  # Optional Watchdog

ALERT_SOUNDS="startup shutdown"  # Optional Sounds
ALERT_SOUNDS_OCTAVE="1"
/mnt/kd/sensors.conf
# libsensors configuration file
# -----------------------------
# Lanner FW-7541D

chip "w83627ehf-*" "w83627dhg-*"

ignore fan1
ignore fan2
ignore fan3
ignore fan4
ignore fan5

ignore cpu0_vid
ignore intrusion0
ignore temp3

label in0 "CPUVCORE"
label in1 "12V"
ignore in2
label in3 "3VCC"
label in4 "5V"
label in5 "1.5V"
ignore in6
ignore in7
label in8 "Vbat"

label temp1 "SYS Temp"
label temp2 "CPU Temp"

compute in1 @*(1+(150/10)), @/(1+(150/10))
compute in4 @*(1+(30/10)),  @/(1+(30/10))
compute in5 @*(1+(10/10)), @/(1+(10/10))

set temp1_max       90
set temp1_max_hyst  85

set in0_min   0.2
set in0_max   2.5
set in1_min   12.0*0.9
set in1_max   12.0*1.1
set in3_min   3.3*0.9
set in3_max   3.3*1.1
set in4_min   5*0.9
set in4_max   5*1.1
set in5_min   1.5*0.9
set in5_max   1.5*1.1
set in8_min   3.3*0.9
set in8_max   3.3*1.1
When a Compact Flash card is used, and it supports DMA, much higher disk performance can be obtained by enabling LIBATA DMA for Compact Flash. Enable from the CLI by issuing the following command:
set-kcmd libata.dma=5
BIOS Setup via Serial Port:
While it is possibly to use a VGA cable to connect to the board's internal VGA header (cable not provided) to view the BIOS, a better solution is to use “Remote Access” to the BIOS via the serial port.
First, configure your serial terminal program to support ANSI color and 115200 baud. If you are using minicom be sure to add the ' -c on ' option to the minicom command line, otherwise the ANSI colors will not be distinguishable in the BIOS Setup screen.
Note -> Leave Serial Port Mode → 115200 8,n,1 for AstLinux 1.3.0 and later.
Second, on startup as soon as you hear the beep, type <TAB> to enter the BIOS Setup, go to the “Advanced” → “Remote Access Configuration” . Make the following changes…
Serial Port Mode → 19200 8,n,1Redirection After BIOS POST → DisabledSredir Memory Display Delay → Delay 4 Sec
The results should like the following screen…
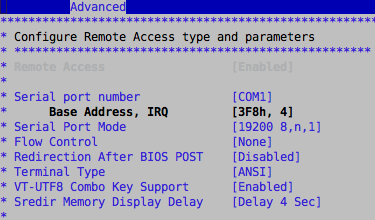
Finally, save the above BIOS changes, reboot, and reconfigure you serial terminal program if you changed the baud rate.
Photos:
